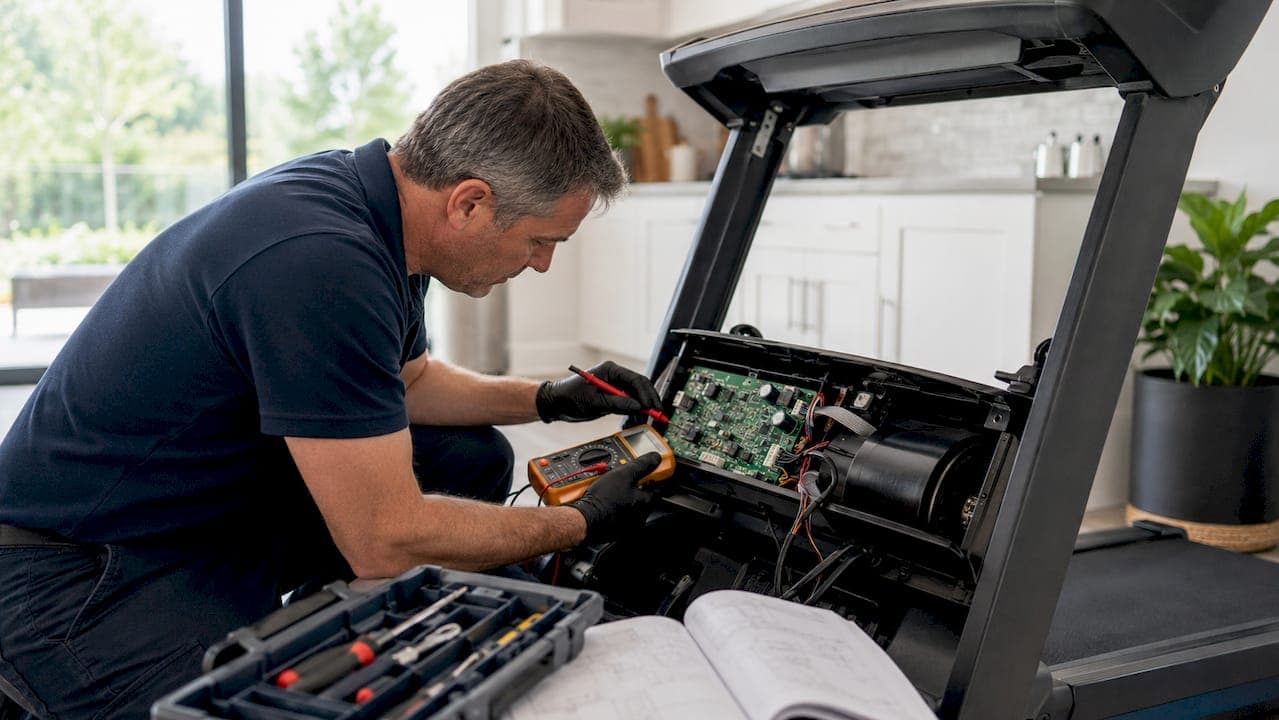
The treadmill control board is a circuit board that regulates motor speed and translates console commands into mechanical action. Without a functioning controller board, your ProForm, NordicTrack, or Sole treadmill cannot run at the correct speed, respond to incline commands, or protect the motor from overload. Treadmill control board repair explained properly means understanding that most failures are not the board itself. Sensor misalignment, corroded wiring, and power supply faults cause the majority of symptoms owners blame on the board. This guide walks you through diagnosis, repair, calibration, and prevention so you fix the right part the first time.
What are common symptoms and error codes indicating control board issues?
Common treadmill error codes E1, E3, E5, and E6 often indicate sensor misalignment or loose wire connections rather than a failed board. That distinction matters because replacing a $150 controller when a $0 sensor adjustment would have solved the problem is a costly and avoidable mistake.
Here are the most common symptoms and what they actually signal:
- E1 error: Speed sensor is not detecting front roller rotation. Check sensor distance first. The correct gap is 2–3 mm between the sensor and the magnet on the roller.
- E3 error: Motor overload or overcurrent. This can mean a worn belt creating drag, not a board fault.
- E5 error: Incline motor communication failure. Inspect the incline motor wiring harness before touching the board.
- E6 error: Speed signal lost mid-run. Often caused by a dirty or misaligned magnet rather than board failure.
- Treadmill runs at half speed: A misaligned speed sensor causes the front roller LED to flash twice per revolution instead of once, cutting reported speed in half. Flipping or realigning the sensor fixes this without any board work.
- Treadmill does not start: Check the safety key and power outlet before assuming the board is dead.
- Motor surges or stutters: This points toward capacitor degradation or electrical noise on the PWM control lines, not necessarily a failed board.
Pro Tip: Before you open the motor hood, count the LED flashes on your speed sensor. One flash per revolution is correct. Two flashes per revolution means sensor misalignment is your problem, and the fix takes under five minutes.
Differentiating a sensor error from a true board failure saves you time and money. Sensor and wiring checks should always come first.
How to diagnose and troubleshoot treadmill control board problems
Accurate diagnosis requires a short list of tools and a disciplined sequence. Skipping steps is how owners end up replacing boards that were never broken.
Tools you need:
- Digital multimeter (for voltage and continuity checks)
- ESR meter (for testing capacitors in circuit)
- Phillips screwdriver
- Flashlight
Diagnostic sequence:
- Unplug the power cord and remove the safety key. Never work on a treadmill with power connected. Wait 60 seconds after unplugging to allow capacitors to discharge.
- Check the wall outlet and power cord. Power surges and faulty outlets trigger safety shutdowns that look identical to board failure. Test the outlet with a lamp or phone charger.
- Inspect all wiring harnesses. Look for pinched wires under the motor hood, corroded connectors, and loose plugs at the board. A loose ground wire causes intermittent shutdowns that no board replacement will fix.
- Check the speed sensor gap. The sensor must sit 2–3 mm from the magnet on the front roller. Use a business card as a rough spacer if you do not have calipers.
- Test the speed sensor LED. Plug the treadmill back in, start it at the lowest speed, and watch the sensor LED. One flash per revolution is correct.
- Test fuses on the control board. Use your multimeter in continuity mode. A blown fuse is a $2 fix that mimics complete board failure.
- Test SCRs only out of circuit. SCRs in treadmill motor drives cannot be reliably tested while soldered because parallel conduction paths on the PCB produce false readings. Desolder the component before testing.
Pro Tip: Use your multimeter to confirm the board is receiving the correct input voltage from the power supply before condemning the board. A board starved of voltage looks dead but is perfectly fine.
Following this sequence catches the most common false positives before you spend money on parts.
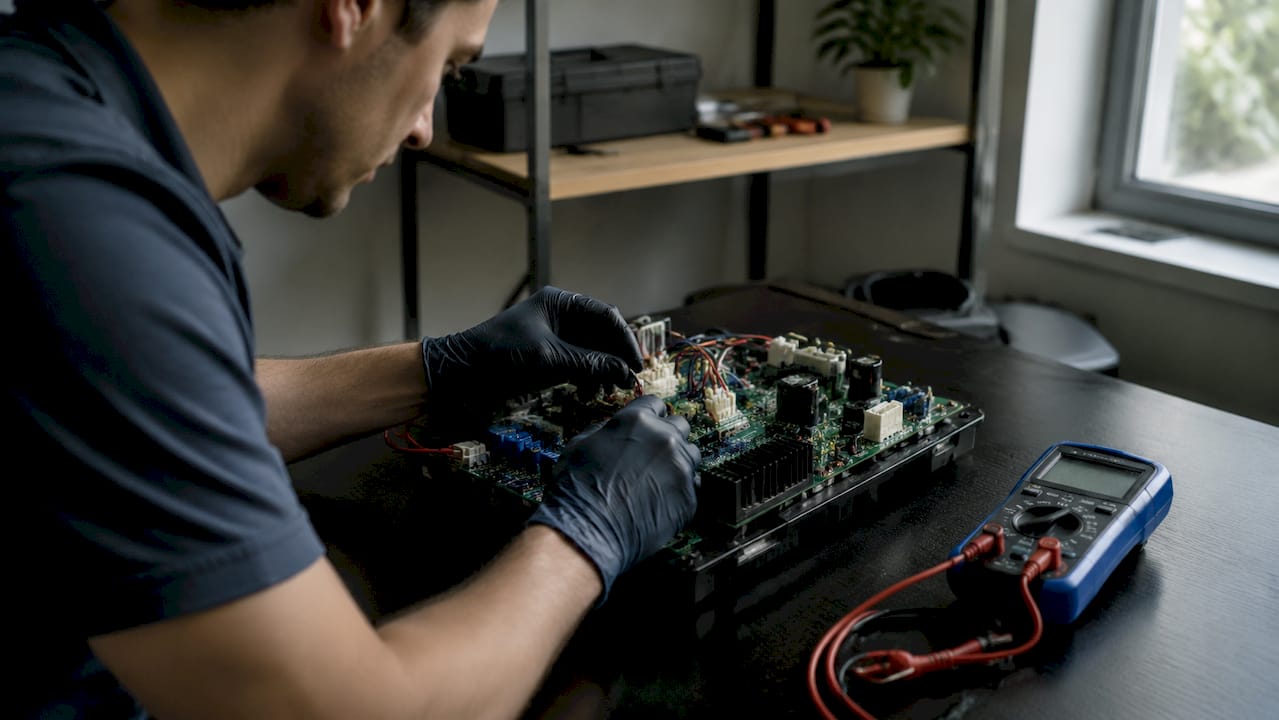
Step-by-step treadmill control board repair and replacement process
Replacing a controller board on a ProForm, NordicTrack, or Sole treadmill is a straightforward job. Replacing a treadmill motor controller takes 15 minutes or less with the correct manufacturer part and basic hand tools. That speed is only possible if you follow the steps in order.
Tools required: Phillips screwdriver, work gloves, your phone (for photos of wiring before disconnecting).
- Unplug the power cord and remove the safety key. This is non-negotiable. Treadmill capacitors hold charge after power is cut.
- Remove the motor hood. Most hoods are secured by two to four Phillips screws along the front and sides of the treadmill frame.
- Photograph all wiring connections before touching them. Label connectors with masking tape if your phone photo is not clear enough. Reconnecting wires in the wrong order is the most common installation error.
- Disconnect all wiring harnesses from the old board. Pull connectors straight out. Do not twist or yank the wires themselves.
- Remove the mounting screws securing the board to the frame. Keep the screws in a small cup so they do not roll under the machine.
- Install the replacement board. Use only manufacturer-approved parts. Generic boards from unverified sellers frequently have incorrect voltage ratings for your motor.
- Reconnect all wiring harnesses using your photos as reference. Verify each connector clicks into place.
- Reinstall the motor hood and restore power.
- Calibrate the max speed. After replacement, treadmill speed calibration must keep the displayed max speed below 10.3 mph to protect the motor. If the belt runs faster than 10.3 mph, turn the max speed potentiometer counterclockwise. If it runs slower than 9.7 mph, turn it clockwise.
| Step | Action | Key caution |
|---|---|---|
| Power off | Unplug cord, remove safety key | Wait 60 seconds before touching board |
| Document wiring | Photograph all connectors | Label ambiguous connectors with tape |
| Remove board | Unscrew mounting hardware | Keep screws contained |
| Install new board | Use manufacturer-approved part | Verify voltage rating matches motor |
| Calibrate speed | Adjust max speed potentiometer | Keep max speed between 9.7 and 10.3 mph |
Pro Tip: Run the treadmill at 50% speed for two minutes after installation before testing max speed. This lets the new board stabilize and gives you a chance to catch any wiring errors before pushing the motor hard.
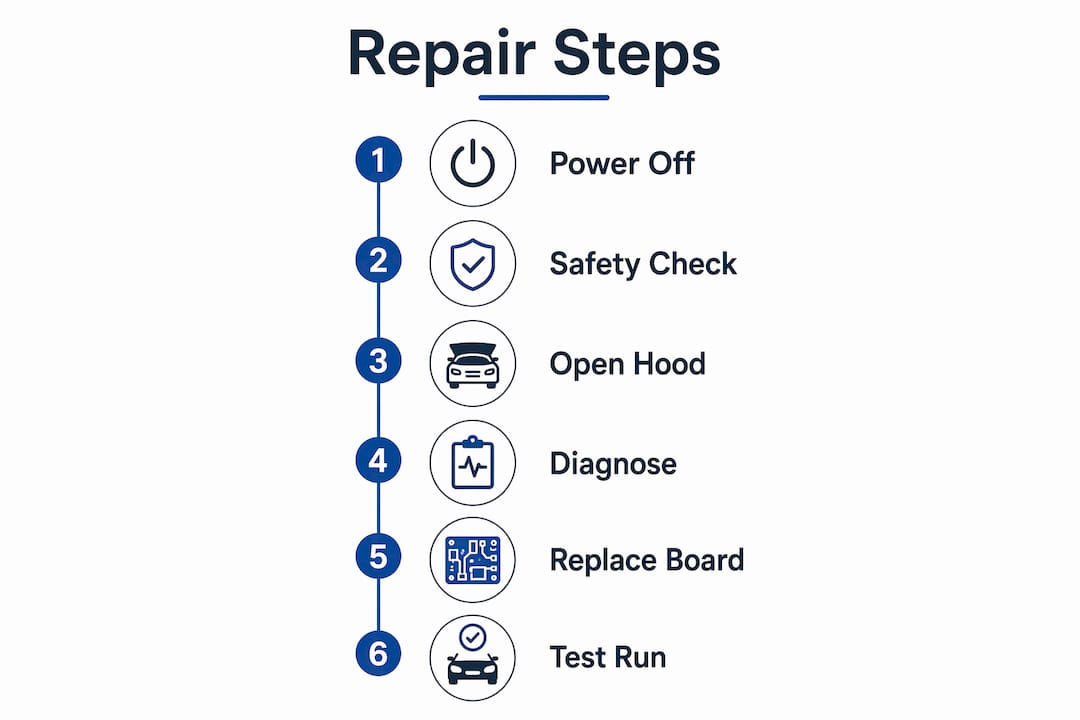
What pitfalls cause failed treadmill control board repairs?
The most common owner mistake is replacing the control board before checking sensors, magnets, and wiring. That error wastes money and leaves the original fault in place, so the new board fails for the same reason.
These are the pitfalls that cause the most unnecessary board replacements:
- Sensor debris: Dust and lint on the speed sensor magnet cause erratic speed readings. Clean the magnet with a dry cloth before any diagnosis.
- Water damage: Water exposure causes resistor drift and corrosion across the entire board. Selective component replacement rarely works after water damage. The board needs full component replacement or substitution.
- Power supply issues: A failing surge protector or an undersized extension cord drops voltage to the board and triggers shutdowns. Owners frequently overlook external power factors that mimic board failure entirely.
- Intermittent operation: If your treadmill cuts out randomly but restarts fine, suspect degraded capacitors or PWM line noise before suspecting total board failure. Adding filtering capacitors or upgrading resistors on the MC2100 board, for example, resolves this without a full replacement.
- Buying the wrong replacement board: Part numbers matter. A board rated for a 2.5 HP motor will not protect a 3.5 HP motor correctly.
"Systematic diagnosis beats selective guessing every time. Check the simplest fix first, then work toward the most complex. Replacing a board without ruling out sensors and power supply is like replacing an engine because a spark plug failed."
Skipping the diagnostic sequence is the single biggest reason treadmill repairs fail quickly. A disciplined approach to treadmill repair failures starts with ruling out the cheap fixes first.
Maintenance tips to prolong control board life and when to replace it
Prevention costs far less than repair. A few consistent habits protect the controller board from the most common failure causes.
- Clean the speed sensor and magnet monthly. Debris buildup is the leading cause of false error codes on ProForm and Sole machines.
- Keep moisture away from the motor hood area. Never place a water bottle on the motor cover. Sweat dripping into the motor compartment is a real failure cause in home gyms.
- Check your power supply quarterly. Plug your treadmill directly into a dedicated 20-amp wall outlet. Avoid extension cords. Replace surge protectors every two years.
- Inspect fuses during every service. A fuse that blows repeatedly signals an underlying current problem, not just a fuse problem.
- Calibrate speed after any board service. Skipping calibration after replacement shortens motor life.
Signs the board is beyond repair: burn marks on the PCB, cracked solder joints across multiple components, water corrosion covering more than 30% of the board surface, or repeated failure of the same component after replacement. At that point, a new board or a professional evaluation is the right call. Use a repair vs. replacement guide to make that decision with clear criteria rather than guesswork.
Key Takeaways
Treadmill control board repair succeeds when you diagnose sensors, power supply, and wiring before replacing any electronics.
| Point | Details |
|---|---|
| Check sensors first | Sensor misalignment causes most error codes and costs nothing to fix. |
| Test power supply | Faulty outlets and surge protectors mimic board failure completely. |
| Follow safe removal steps | Unplug power and remove the safety key before touching any component. |
| Calibrate after replacement | Keep max speed between 9.7 and 10.3 mph to protect the motor. |
| Water damage needs full replacement | Corrosion from moisture requires replacing the entire board, not individual parts. |
My honest take on where owners go wrong
I have seen the same pattern repeat itself more times than I can count. An owner notices their treadmill shutting down mid-run, reads that the control board is the brain of the machine, orders a $120 replacement board, installs it, and the problem comes back within a week. The original fault was a dirty speed sensor magnet or a failing surge protector that was never replaced.
The diagnostic sequence in this article is not optional. It is the difference between a five-minute fix and a $300 repair bill. The simplest fix first rule sounds obvious, but it is genuinely hard to follow when you are frustrated and want to order a part and feel like you are doing something.
Sourcing parts is another area where I see owners cut corners. Generic controller boards from marketplace sellers often lack the correct voltage tolerances for your specific motor. NordicTrack and ProForm both use proprietary board variants even within the same model year. Always match the part number on the original board, not just the model name of the treadmill.
One more thing: calibration after board replacement is not optional. I have seen motors burn out within 90 days of a board replacement because the max speed was never adjusted. Two minutes with a screwdriver after installation protects a motor that costs three times what the board did.
DIY repair is absolutely worth attempting if you follow the sequence. Know when to stop, though. If you have replaced the board and the problem persists, the fault is somewhere else in the system and a certified technician will find it faster than continued trial and error.
— Steve
Get your treadmill running right with Texastreadmillrepair
If your treadmill is showing error codes, running at half speed, or shutting down without warning, the diagnostic steps above will get you far. But some control board issues involve component-level failures that require professional tools and certified parts.

Texastreadmillrepair serves South Texas treadmill owners with same-week, in-home appointments and flat-rate pricing. No surprise fees, no hauling your machine anywhere. Before you order another part, check the repairable vs. unrepairable signs for your treadmill to know whether repair or replacement makes more financial sense. For hands-on help, explore Texastreadmillrepair's full treadmill repair services and book a certified technician who comes to you.
FAQ
What does a treadmill control board actually do?
The control board regulates motor speed by converting console commands into voltage signals sent to the drive motor. It also monitors speed sensor feedback and triggers safety shutdowns when the motor draws too much current.
Can I repair a treadmill control board myself?
Yes, replacing a controller board takes 15 minutes or less with a Phillips screwdriver and the correct manufacturer part. Always unplug the machine and remove the safety key before starting.
What causes a treadmill control board to fail?
Water damage, power surges, degraded capacitors, and overheating are the most common causes. Many apparent board failures are actually sensor misalignment or power supply faults that mimic board failure.
How do I know if my control board or speed sensor is the problem?
Watch the speed sensor LED during operation. One flash per revolution is correct. Two flashes per revolution confirms sensor misalignment, not board failure, and realignment fixes the issue without replacing any electronics.
What is the correct speed range after replacing a treadmill control board?
After replacement, calibrate the max speed potentiometer so the displayed top speed stays between 9.7 and 10.3 mph. Speeds above 10.3 mph risk motor damage over time.