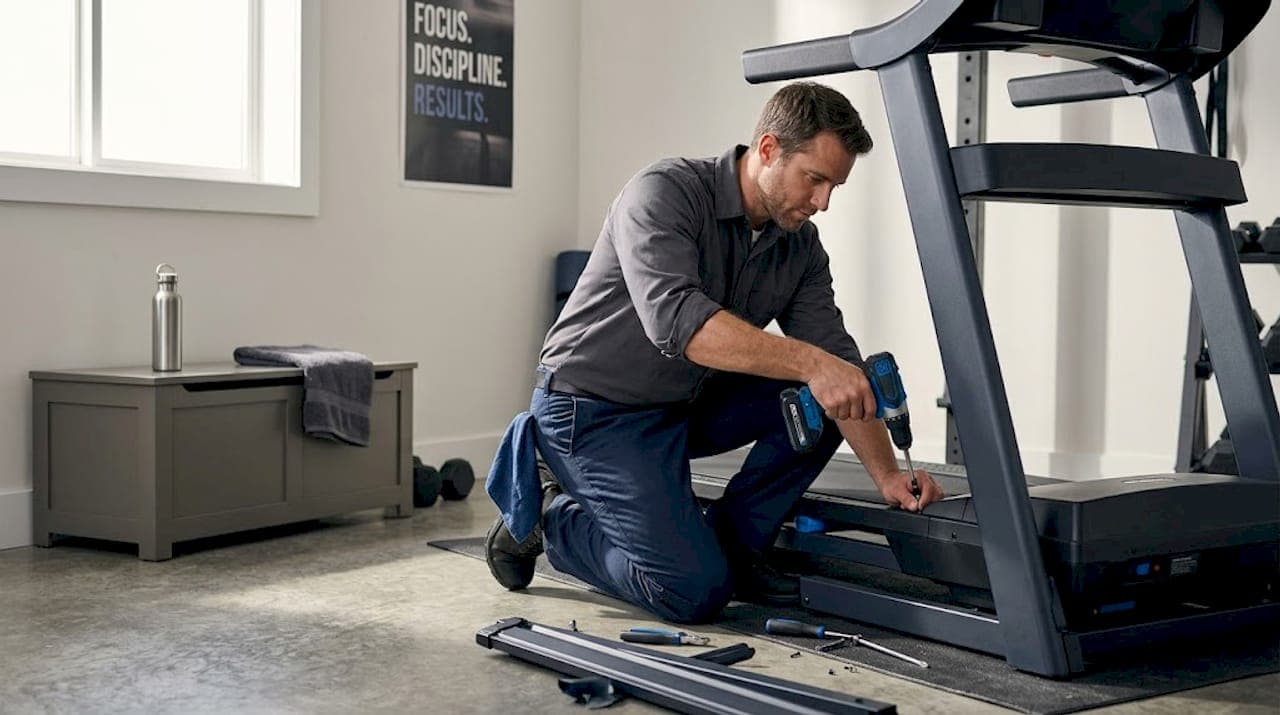
Your treadmill deck is the unsung workhorse of your home gym. When it wears out, you'll feel it fast: the belt slips mid-run, the motor strains audibly, and your workout turns into a frustration session. A proper treadmill deck replacement home gym project can fix all of that without a service call. This guide walks you through every step, from recognizing the warning signs to torquing the final belt tension bolt, so you can get back to training with a machine that performs like new.
Table of Contents
- Key takeaways
- What you need for treadmill deck replacement home gym prep
- Step-by-step deck removal and installation
- Lubricating, aligning, and tensioning the belt
- Common mistakes to avoid
- My honest take on DIY deck replacement
- Get professional help when you need it
- FAQ
Key takeaways
| Point | Details |
|---|---|
| Spot wear early | Belt slipping, burning smells, and jerky motion are clear signs your deck needs attention now. |
| Replace belt and deck together | Installing a new deck under a worn belt causes premature friction and shortens the new deck's life. |
| Use only silicone lubricant | Petroleum-based products destroy treadmill belts and decks; 100% silicone is the only safe choice. |
| Adjust tension in small turns | Belt tension bolts should be turned no more than a quarter to half turn at a time to protect the motor. |
| Lubricate on a schedule | Lubricating every 3 to 6 months prevents friction buildup before symptoms ever appear. |
What you need for treadmill deck replacement home gym prep
Before you touch a single bolt, getting your workspace and materials organized will save you real time and prevent costly mistakes. A rushed setup is where most DIY treadmill repairs go sideways.
Tools and materials at a glance
| Item | Purpose |
|---|---|
| Phillips and flathead screwdrivers | Removing motor cover and side rail screws |
| Allen wrench set | Adjusting belt tension and roller bolts |
| Socket wrench | Loosening roller end caps |
| 100% silicone lubricant | Lubricating the new deck surface |
| Replacement deck board | The core treadmill replacement part |
| Replacement belt | Should always be replaced with the deck |
| Vacuum and clean cloth | Cleaning debris before installation |
| Jigsaw (for blank decks) | Custom cutting if your model uses a blank board |
| Treadmill mat | Protecting floors and reducing vibration |
Some treadmill decks are sold as blank boards for custom cutting, which is especially common for older or less common models. If yours falls into that category, you will need a jigsaw and the exact measurements from your original deck before ordering.
Safety first. Always unplug the treadmill from the wall before starting. Do not rely on the power switch alone. Work in a well-lit area, clear the space around the machine so you can move freely, and lay down a mat or blanket to protect your floor from scratches while you maneuver the deck in and out.
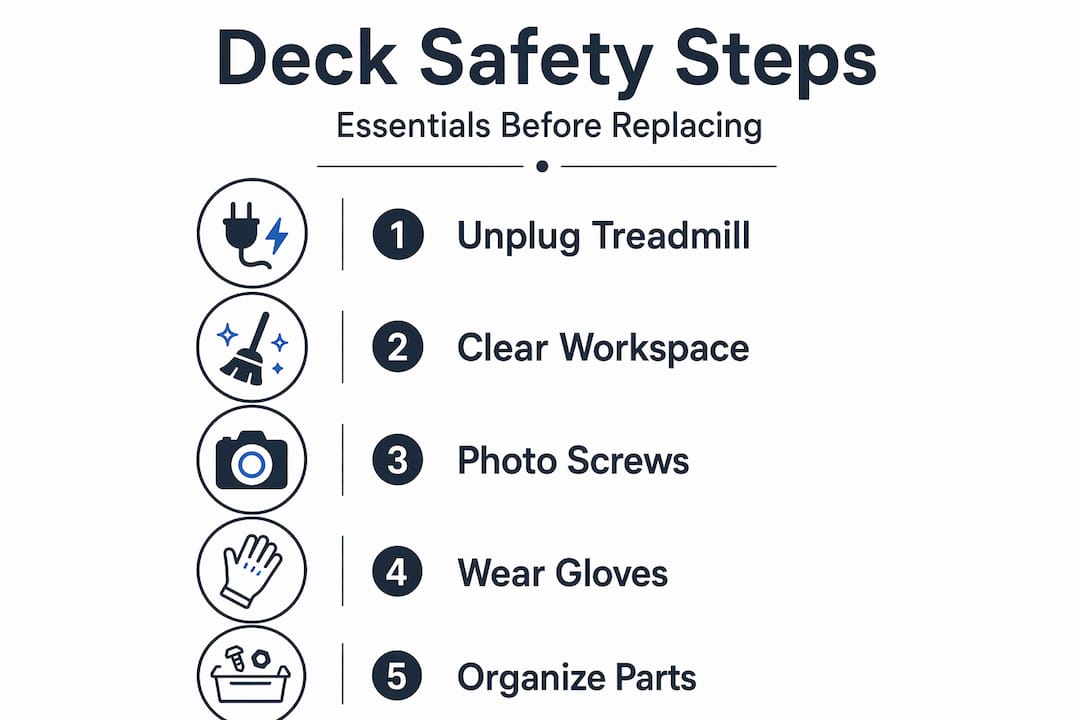
Pro Tip: Take a photo of every cable connection and screw location before disassembly. You will thank yourself when it is time to put everything back together.
Step-by-step deck removal and installation
This is the core of the project. Work through each step in order and do not skip the inspection phase. Rushing past it is how people install a new deck only to find the real problem was something else entirely.
Removing the old deck
- Unplug the treadmill. Confirm it is completely disconnected from power.
- Remove the motor cover. Unscrew the front hood and set it aside carefully.
- Loosen the rear roller bolts. Use your Allen wrench to back off the tension bolts on both sides of the rear roller. This slackens the belt enough to slide it off.
- Slide the belt off the rollers. Work it toward the rear and off the deck. Set it aside if you plan to inspect it, but in most cases you will be replacing it.
- Unscrew the deck from the frame. Deck screws are typically located along both side rails. Remove all of them and keep them in a small container so nothing gets lost.
- Lift the deck out. It may be snug. Wiggle it gently rather than forcing it.
Inspecting the old deck
Once the deck is out, check the surface for grooves, burn marks, or uneven wear. A reversible deck that shows wear only on one side can sometimes be flipped to extend its life temporarily. If both sides are damaged or the board is warped, replacement is the only real option.
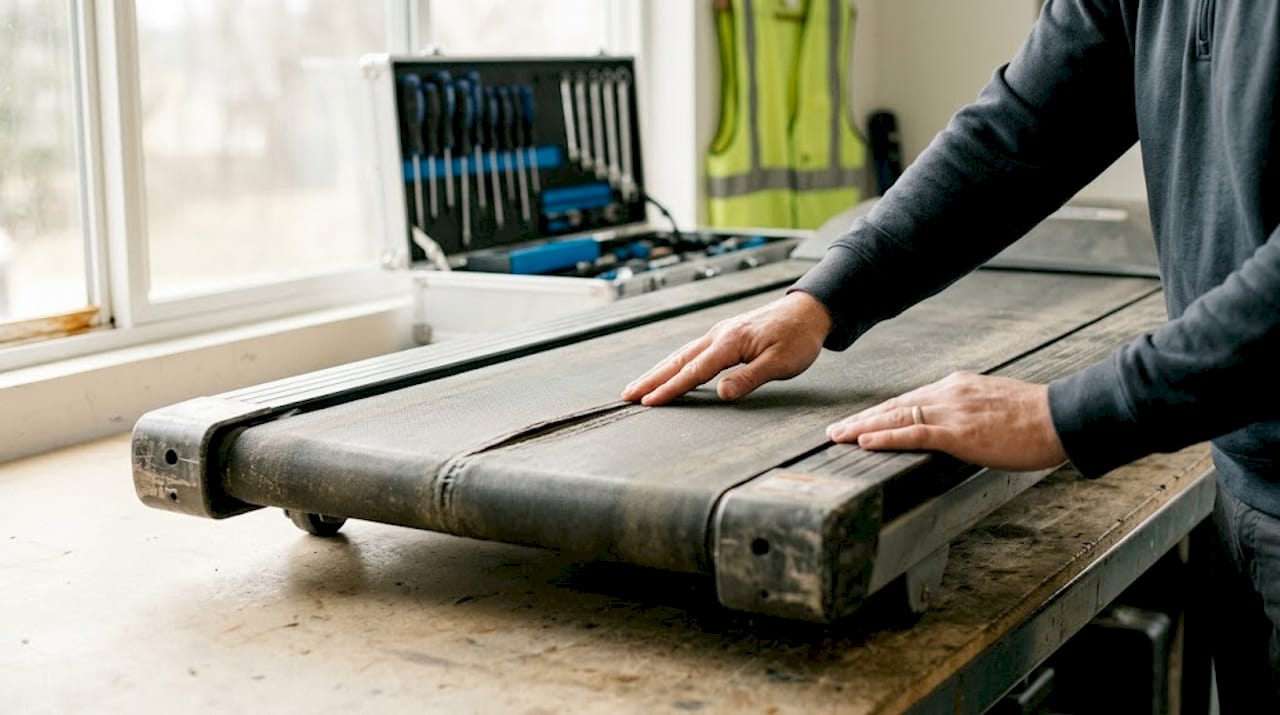
Check the belt at the same time. Signs a belt needs replacement include visible fraying, a rough texture on the underside, persistent slipping, or a burning smell during use. Belt lifespan for home use typically runs 3 to 5 years. Since you already have everything apart, replacing both at once is the smart call.
Installing the new deck
| Step | Action | Key check |
|---|---|---|
| 1 | Clean the frame channels | No debris or old lubricant residue |
| 2 | Slide new deck into position | Centered, flush against both side rails |
| 3 | Hand-tighten all deck screws first | Even pressure before final tightening |
| 4 | Fully tighten screws in alternating pattern | Prevents warping |
| 5 | Thread belt over front roller | Belt centered before tensioning |
| 6 | Re-thread belt around rear roller | Equal overhang on both sides |
| 7 | Snug up tension bolts evenly | Equal turns on left and right |
It is worth noting that replacing only the deck while keeping an old belt leaves worn patches that create friction against your brand new surface. Do both at once.
Pro Tip: If your replacement deck came as a blank board, dry-fit it against the old deck before cutting. Trace the screw holes and any cutouts precisely, then cut slowly with a jigsaw to avoid splintering the edges.
Lubricating, aligning, and tensioning the belt
Getting the belt running smoothly after installation is not optional. Skipping this step or doing it incorrectly will shorten the life of your new deck faster than the old one wore out.
Choosing and applying lubricant
Only 100% silicone lubricant belongs on a treadmill deck. Anything petroleum-based, including WD-40, will degrade the belt material and damage the deck surface. Buy a product specifically labeled for treadmill use.
Before applying lubricant, vacuum and wipe the deck surface thoroughly and let it dry completely. Applying lubricant over dust or debris traps particles under the belt and creates abrasive wear from the first step.
To apply, lift the belt edge and run a thin bead of silicone lubricant down the center of the deck from front to back on both sides. You do not need much. A light, even coat is far better than a heavy application that pools and flings off during use.
Pro Tip: After lubricating, run the treadmill at its slowest speed for two to three minutes before stepping on it. This distributes the lubricant evenly across the full deck surface.
Belt alignment and tension
- Stand behind the treadmill and watch the belt run at a slow speed. It should track straight down the center without drifting left or right.
- If the belt drifts right, tighten the right tension bolt by a quarter turn. If it drifts left, tighten the left side.
- Adjust belt tension bolts in small increments, no more than a quarter to half turn at a time, then re-check alignment before making another adjustment.
- Proper tension means the belt lifts about two to three inches off the deck when you pull up on the center edge. Less than that and it is too tight. More than that and it will slip.
You should lubricate the belt and deck every 3 to 6 months or every 130 to 150 hours of use going forward. Setting a calendar reminder takes about 10 seconds and saves you from repeating this entire project prematurely.
Common mistakes to avoid
Even experienced DIYers make these errors. Knowing them ahead of time is the difference between a repair that lasts years and one that fails in weeks.
- Using the wrong lubricant. Petroleum-based products like WD-40 destroy treadmill belts and decks. Always verify the label says 100% silicone.
- Skipping belt replacement. Putting a new deck under a worn belt is false economy. The old belt will chew through your new deck surface quickly.
- Overtightening or undertightening tension bolts. Too tight and you strain the motor bearings. Too loose and the belt slips under load. Both cause damage.
- Ignoring your subfloor. Treadmill mats and stable flooring are not accessories. They reduce vibration that gradually loosens fasteners and wears down mechanical components. Many home gym owners underestimate this completely.
- Lubricating reactively instead of proactively. Preventative lubrication before squeaking starts avoids deck and motor failure. By the time you hear noise, damage has often already begun.
When to stop and call a pro: If you find cracked rollers, a burned motor smell, or damaged frame rails during disassembly, stop the DIY project. Those repairs require specialized tools and knowledge. Continuing without addressing them will damage your new parts.
My honest take on DIY deck replacement
I have seen a lot of home gym owners tackle treadmill deck replacement with confidence, only to hit a wall when the belt tracks crooked or the motor starts whining after reassembly. The instructions are not the hard part. The patience is.
What I have learned is that the biggest predictor of a successful repair is not mechanical skill. It is taking the time to do the boring parts right: cleaning the deck surface before installation, making micro-adjustments to belt tension instead of big turns, and actually setting a lubrication schedule instead of waiting until something sounds wrong.
The other thing I would tell anyone considering this project: do not cheap out on treadmill replacement parts. A discount deck board from an unverified seller might save you $40 upfront and cost you a motor six months later. Buy OEM or a reputable aftermarket part that matches your model's specs exactly.
DIY is absolutely the right call for most deck replacements. Professional deck replacement makes sense when the damage goes beyond the deck itself, or when you simply do not have the time or tools. There is no shame in knowing which situation you are in. The goal is a treadmill that runs well, not a completed DIY project for its own sake.
— Myles
Get professional help when you need it

If you have pulled the deck and found damage that goes deeper than a board swap, Texastreadmillrepair is built for exactly that situation. Their certified technicians come directly to your home gym in South Texas, bringing the right tools and treadmill replacement parts for the job. No hauling equipment. No guessing on parts compatibility.
Texastreadmillrepair offers same-week repair appointments with flat-rate pricing and a 90-day warranty on parts and labor. Whether you need a full deck and belt replacement or a motor diagnosis after a failed DIY attempt, they handle it fast. They also serve the Mission and Edinburg areas with the same rapid-response model, so South Texas home gym owners are never far from reliable help.
FAQ
How do I know when to replace my treadmill deck?
Look for grooves, burn marks, or uneven wear on the deck surface. Belt slipping, a burning smell during use, or jerky belt motion are also strong indicators that the deck needs replacement.
Can I flip my treadmill deck instead of replacing it?
Yes, many treadmill decks are reversible. If only one side shows wear, flipping it can extend the deck's life temporarily. Once both sides are worn or the board is warped, replacement is necessary.
What lubricant should I use after replacing the treadmill deck?
Use only 100% silicone lubricant. Petroleum-based products like WD-40 will damage both the belt and the deck surface and should never be used on treadmill components.
How often should I lubricate my treadmill after a deck replacement?
Lubricate the belt and deck every 3 to 6 months or every 130 to 150 hours of use. Consistent lubrication prevents friction buildup and protects both the deck and the motor.
Do I need to replace the belt when I replace the treadmill deck?
Yes. An old belt left on a new deck creates friction from worn patches and will prematurely damage the fresh surface. Replacing both at the same time is the right move and saves you from doing the job twice.