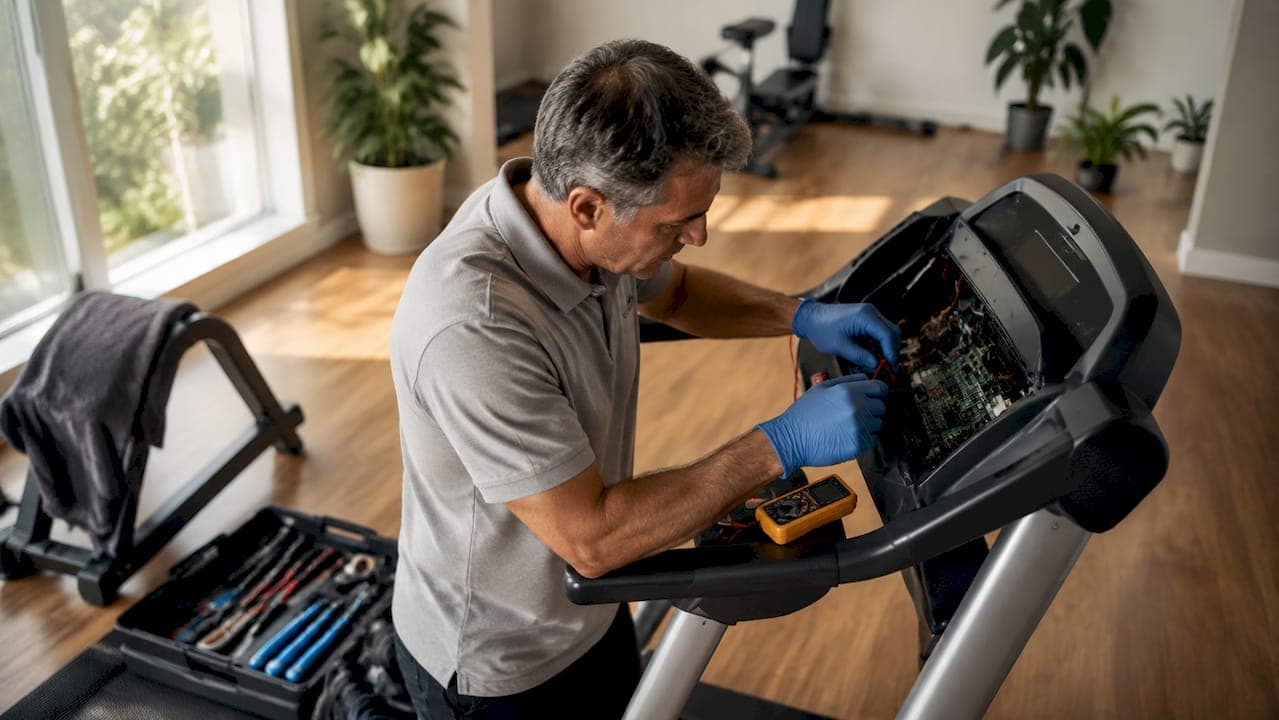
Treadmill heart rate sensor repair is the process of diagnosing and restoring accurate pulse readings from either hand-grip contact sensors or wireless chest straps on fitness treadmills. Brands like NordicTrack, ProForm, and LifeFitness all use one of these two sensor types, and both fail in predictable ways. Most failures trace back to dirty contacts, poor placement, dead batteries, or a software lock on the console. Replacing hardware is rarely the first answer. This guide walks you through every repair step in order, from the easiest fixes to the situations where a certified technician is the smarter call.
How to diagnose treadmill heart rate sensor problems
Accurate diagnosis saves you from replacing parts you do not need. Start with the symptoms, then work through each possible cause in order.
Common symptoms to identify first:
- No reading at all on the console display
- A reading that is wildly high or low compared to your actual effort
- A signal that appears and disappears during your workout
- Readings that only appear when you grip the sensors tightly
Each symptom points to a different root cause. No reading often means a software lock or dead battery. Erratic readings usually point to dirty contacts or a damaged cable. Intermittent signals frequently come from electromagnetic interference or a loose connection.
Step 1: reset the console first
Before touching any hardware, reset the console. A software pulse block is one of the most commonly missed causes of a missing heart rate reading. Stop the machine, unplug the power cord while leaving the safety key inserted, wait at least 30 seconds, reconnect power, then remove and reinsert the safety key. This sequence clears the software lock state that prevents the pulse function from working. Many users skip this step entirely and go straight to hardware, which wastes time and money.
Step 2: check hand-grip sensor contacts
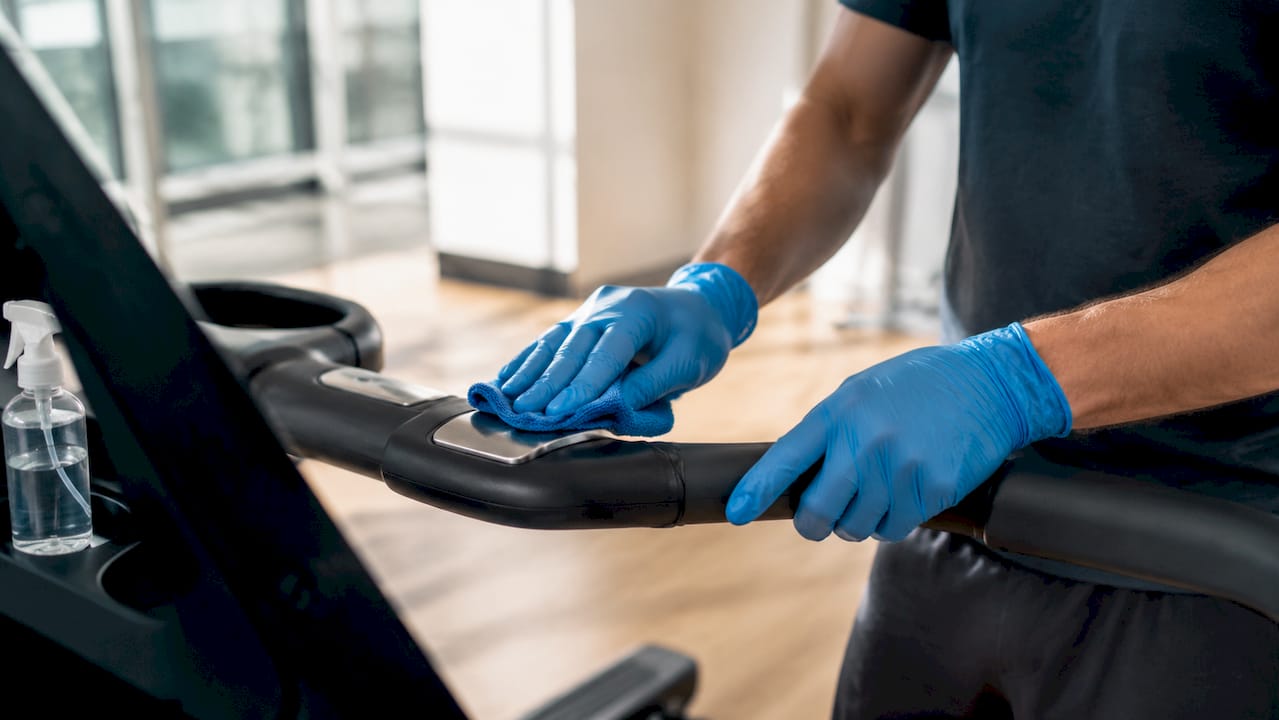
Cleaning hand-grip metal contacts and confirming full palm coverage resolves a large share of no-reading complaints. Wipe the metal sensor plates with a damp cloth to remove sweat residue and oxidation. Moisten your palms slightly before gripping, and confirm your hands fully cover both sensor plates. Dry or partial contact breaks the electrical circuit the sensor needs to read your pulse.
Step 3: inspect sensor cables and wiring
Damaged pulse sensor cables cause missing or incorrect readings that look identical to a failed sensor. Check the cable running from the hand-grip sensors to the console. Look for exposed wiring, sharp bends, pinch points near the console housing, and loose connectors. Also inspect the conductive plating, called tinning, on the cable ends. Subtle damage to the tinning causes erratic or intermittent readings that casual inspection misses entirely.
Step 4: troubleshoot the wireless chest strap
For wireless chest strap users, proper strap placement directly against skin with moistened electrodes is the single biggest factor in signal quality. Wear the strap under your clothing, logo facing forward, with the electrode pads moistened using a saline solution or plain water. If the reading is still absent, shift the strap slightly up or down on your chest. A position change of two inches can restore signal when placement is the issue.
Pro Tip: Electromagnetic interference from microwaves, cell phones, and nearby electrical lines disrupts wireless chest strap signals. Move your treadmill at least six feet from other electronics before concluding the sensor is faulty.
DIY repair steps for heart rate sensors
Once you have identified the likely cause, these steps cover the most common repairs you can complete at home.
Tools and materials you will need
| Item | Purpose |
|---|---|
| Clean damp cloth | Wipe hand-grip sensor contacts |
| Saline solution or water | Moisten chest strap electrodes |
| CR2032 battery | Replace chest strap battery |
| Multimeter | Test cable continuity |
| Screwdriver set | Access console housing if needed |
Repairing hand-grip sensors
- Unplug the treadmill from the wall outlet before opening any housing panels.
- Wipe the metal sensor plates thoroughly with a damp cloth. Dry them completely before testing.
- Grip the sensors with flat, moist palms and hold for at least five seconds. Check the console for a reading.
- If the reading is still absent, trace the sensor cable from the grip to the console connection point.
- Look for any visible damage, kinks, or loose plugs. Reseat any connectors that feel loose.
- If the cable shows exposed wiring or broken tinning, the cable needs replacement. Match the plug type exactly. For example, ear clip sensors use a 14mm plug, and using the wrong type causes no reading even with a working sensor.
Pro Tip: Before ordering a replacement cable, use a multimeter to test continuity across the cable length. A broken circuit confirms the cable is the fault, not the console or sensor plate itself.
Replacing a chest strap battery
Chest strap batteries last 2–4 years under normal use, and a weak battery is a frequent silent cause of signal failure. Users often suspect the console or sensor hardware when the fix costs less than two dollars. Test the strap by pressing your thumbs firmly on both electrode zones. A working strap produces an activation sound or a brief signal. If the signal does not reach the console from more than about 1.5 meters away, the battery is the problem. Replace the CR2032 battery, retest at range, and confirm the signal reaches the console display.
To distinguish low battery from hardware failure, test both activation response and transmission range at the same time. A strap that activates but loses signal at distance has a weak battery. A strap that does not activate at all may have a hardware fault requiring replacement.
Sensor replacement for common treadmill models
If cleaning and cable checks do not restore the reading, the sensor plate itself may need replacement. Most NordicTrack and ProForm models use modular hand-grip sensor assemblies that unplug from the handlebar wiring harness. Order the part using your treadmill's model number, which is printed on a label under the motor hood or on the rear frame. Disconnect the old sensor, plug in the new one, and run a test walk at low speed to confirm the reading appears. For LifeFitness commercial units, sensor replacement often requires accessing the console board, which is a job better left to a technician.
When should you call a professional for sensor repair?
DIY repair has clear limits. Knowing when to stop saves you from making a minor problem worse.
Signs that professional service is the right call:
- The console displays treadmill error codes related to the heart rate circuit
- You have replaced the sensor, cable, and battery and the problem persists
- The console board shows visible burn marks or corrosion
- The treadmill is a commercial unit with integrated sensor circuitry
- You are uncomfortable working near electrical components
Improper repair attempts on console boards can damage circuits that cost several hundred dollars to replace. A certified technician can test the full signal pathway from sensor to console board in minutes using diagnostic tools that are not practical for home use. The cost of a professional diagnosis is almost always lower than the cost of replacing parts by guessing.
Texastreadmillrepair offers same-week appointments with certified technicians who come directly to your home or gym in South Texas. Their flat-rate pricing means you know the cost before any work begins, and a 90-day warranty on parts and labor covers the repair after the technician leaves. For complex treadmill electrical issues involving the console board or internal wiring, professional service is the faster and safer path. You can also review the repairable vs. unrepairable signs guide to decide whether repair or replacement makes more financial sense for your machine.
Preventive treadmill maintenance tips to protect sensors
Preventing sensor problems is faster and cheaper than fixing them. These habits extend sensor life significantly.
Regular cleaning:
- Wipe hand-grip sensor plates after every workout to remove sweat and salt buildup. Salt accelerates oxidation on metal contacts.
- Clean chest strap electrodes with a damp cloth after each use and allow them to air dry before storage.
Electronics and wiring inspections:
- Check sensor cables for wear every three months, especially at the points where cables flex near the handlebars.
- Inspect console connections annually for corrosion or loose plugs.
Chest strap storage and battery care:
- Store chest straps flat and dry. Folding them sharply cracks the electrode material over time.
- Replace the CR2032 battery every two years regardless of apparent performance. Waiting for failure means losing accurate readings mid-workout.
Environmental controls:
- Keep the treadmill away from microwaves, routers, and large appliances that generate electromagnetic fields.
- Reduce dust accumulation around the console and sensor areas by covering the treadmill when not in use.
Pro Tip: Schedule a full sensor and wiring inspection every six months alongside your belt lubrication routine. Combining tasks keeps maintenance time short and catches problems before they affect your workouts.
Key takeaways
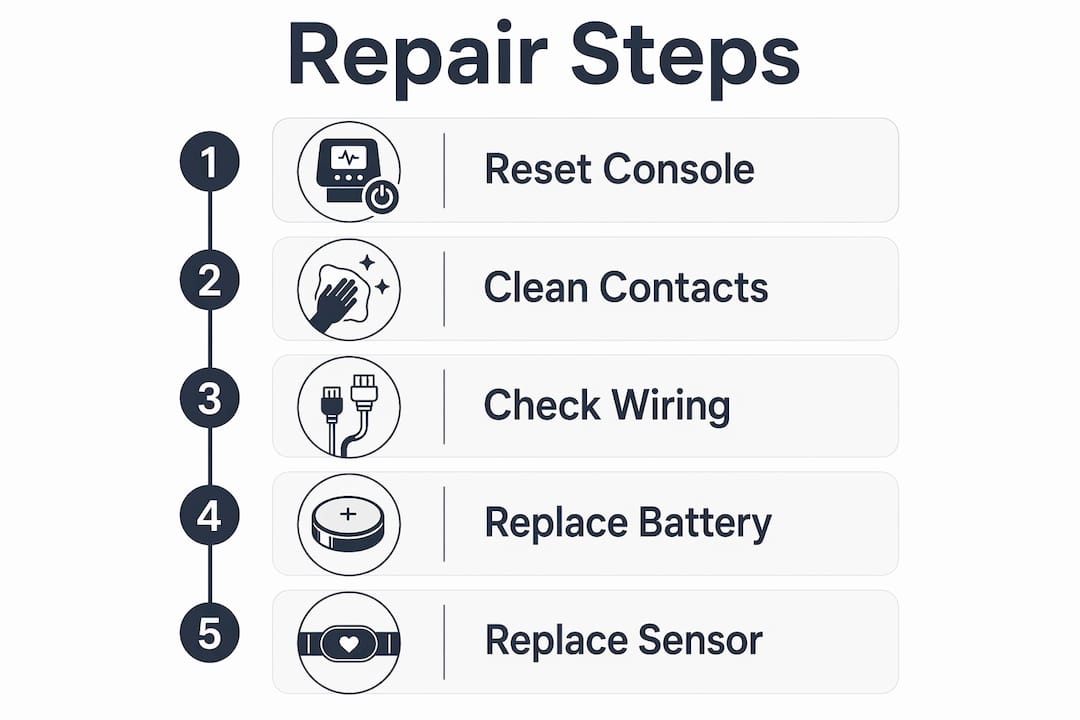
Treadmill heart rate sensor repair succeeds when you follow a systematic sequence: reset the console, clean contacts, check cables, test the battery, and address interference before replacing any hardware.
| Point | Details |
|---|---|
| Reset console first | A software lock causes many no-reading issues and clears in under two minutes. |
| Clean contacts before replacing | Dirty hand-grip plates and dry palms cause most contact sensor failures. |
| Test battery before blaming hardware | Chest strap batteries last 2–4 years; a dead CR2032 mimics sensor failure. |
| Inspect full cable pathway | Damaged cable tinning causes erratic readings that look like console faults. |
| Call a pro for board-level faults | Console circuit damage requires diagnostic tools and expertise beyond DIY scope. |
What i have learned after years of sensor repairs
The most common mistake I see is skipping the console reset. People pull apart handlebars, order replacement sensors, and spend an hour on a repair that a 30-second reset would have fixed. The reset procedure is counterintuitive because it involves leaving the safety key in while unplugging power, which feels wrong. But that sequence is exactly what clears the software pulse block.
The second mistake is replacing the sensor when the cable is the actual fault. I have seen machines where the sensor plate was perfectly functional but a single pinch point in the cable, hidden inside the handlebar tube, was breaking the signal. A multimeter test takes two minutes and tells you definitively whether the cable is the problem. Skipping that test leads to buying parts you do not need.
My honest advice: work through the diagnosis in order. Clean first, reset second, test cables third, check the battery fourth. Only replace hardware after you have ruled out every other cause. Most sensor issues resolve before you ever reach the replacement step. When they do not, that is the signal to call someone who can test the full circuit properly rather than keep guessing.
— Steve
Get your treadmill reading accurately again
If you have worked through the steps above and your heart rate sensor still is not reading correctly, the fault is likely deeper than a DIY fix can reach.

Texastreadmillrepair sends certified technicians directly to your home or gym across South Texas, with same-week availability and flat-rate pricing. There are no surprise fees, and every repair comes with a 90-day warranty on parts and labor. Whether you need a sensor cable replaced, a console board diagnosed, or a full treadmill repair service, the team at Texastreadmillrepair handles it on-site without you moving the machine. Book your appointment today and get back to training with accurate data.
FAQ
What causes a treadmill heart rate sensor to stop working?
The most common causes are dirty hand-grip contacts, a dead chest strap battery, a software lock on the console, or a damaged sensor cable. Most issues resolve through cleaning, a console reset, or a battery replacement before any hardware needs replacing.
How do i test a treadmill chest strap battery?
Press both thumbs firmly on the electrode zones of the strap. If the strap does not activate or the signal fails to reach the console from about 1.5 meters away, replace the CR2032 battery. Batteries typically last 2–4 years under regular use.
Can electromagnetic interference affect my treadmill heart rate monitor?
Yes. Household electronics like microwaves, cell phones, and electrical lines disrupt wireless chest strap signals. Moving the treadmill away from these devices often restores reliable readings without any repair work.
How do i reset my treadmill console to fix heart rate readings?
Unplug the power cord while leaving the safety key inserted, wait at least 30 seconds, reconnect power, then remove and reinsert the safety key. This clears the pulse block that prevents heart rate data from displaying on the console.
When does treadmill heart rate sensor repair require a professional?
Call a professional when the sensor, cable, and battery have all been checked and the problem persists, when the console shows error codes tied to the heart rate circuit, or when the console board shows visible damage. Board-level faults require diagnostic tools that are not practical for home use.