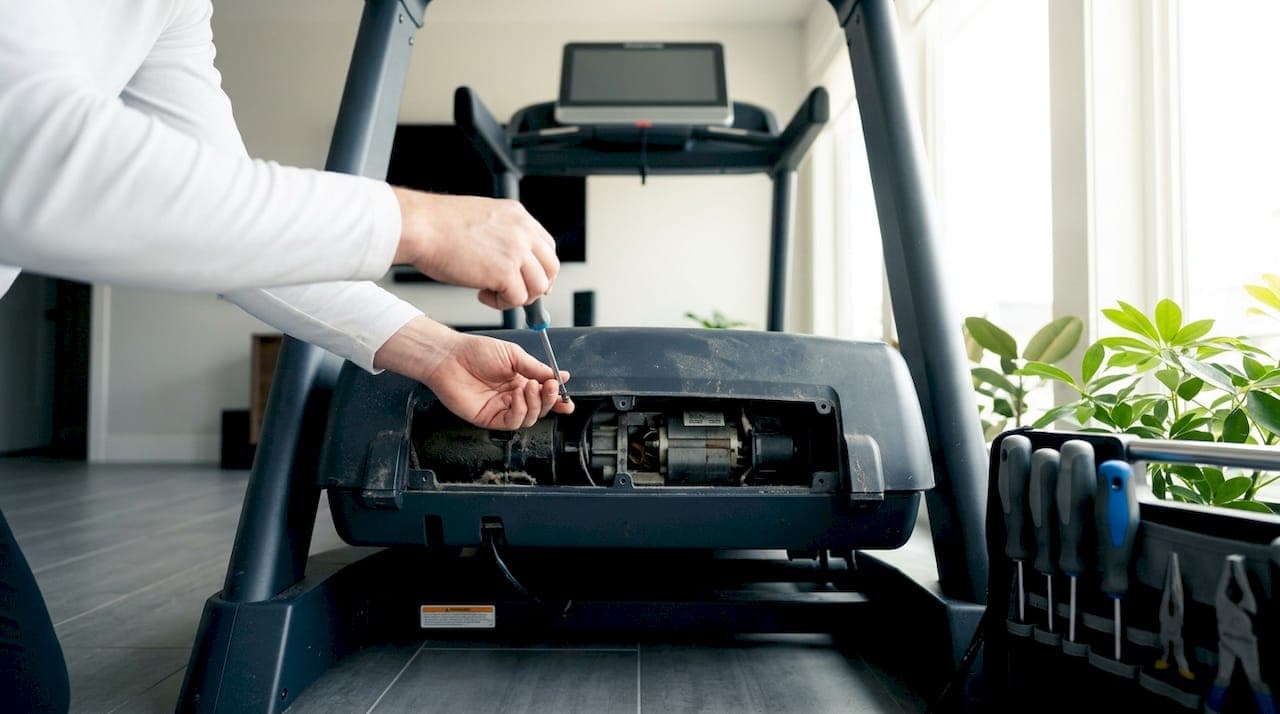
A treadmill incline motor repair guide is the fastest way to diagnose, fix, and prevent the lift system failures that turn a $1,500 machine into an expensive flat-surface walk. The incline motor, also called a lift motor or elevation actuator, drives the front roller platform up and down to adjust workout intensity. When it fails, your treadmill loses one of its most valuable training features. Most repairs are achievable at home with basic tools, a multimeter, and the right replacement part sourced from suppliers like Cardio Equipment Parts or Sears PartsDirect. This guide walks you through every stage: diagnosis, part selection, motor replacement, and preventive maintenance.
What causes treadmill incline motor failures and how to diagnose them
Incline failures cluster around four main components: the lift motor itself, wiring connections, the incline position feedback sensor, and the motor control board. Knowing which bucket your problem falls into saves you from replacing parts at random and spending money you don't need to spend.
Common symptoms and what they point to:
- No movement at all when you press incline up or down. This usually points to a dead lift motor, a blown fuse on the control board, or a completely severed wire.
- Incline moves partway then stops. The position feedback sensor (also called a VR sensor or potentiometer) is the most likely culprit. It tells the control board where the deck is positioned, and if that signal drops out, the board stops the motor mid-travel.
- Incline works intermittently. Loose or corroded connector pins cause this. Vibration from normal use works connectors loose over months of workouts.
- Error codes like E6 appear on the console. Error E6 typically signals an interrupted position feedback signal, usually from broken wires or bad connectors rather than a failed control board.
To confirm the root cause, use your treadmill's built-in test mode. Most modern treadmills from brands like NordicTrack, ProForm, and Sole Fitness include a diagnostic mode accessible through a button combination at startup. In test mode, run the incline up and down while watching the ADC or VR feedback value on the console. If the value doesn't change while the motor runs, you have a wiring or sensor fault, not a motor failure. If the motor doesn't run at all, the motor or board is the problem.
Pro Tip: Always unplug the treadmill before touching any internal components. Even with the power switch off, capacitors on the control board can hold a charge.
How do you select the right replacement incline motor?
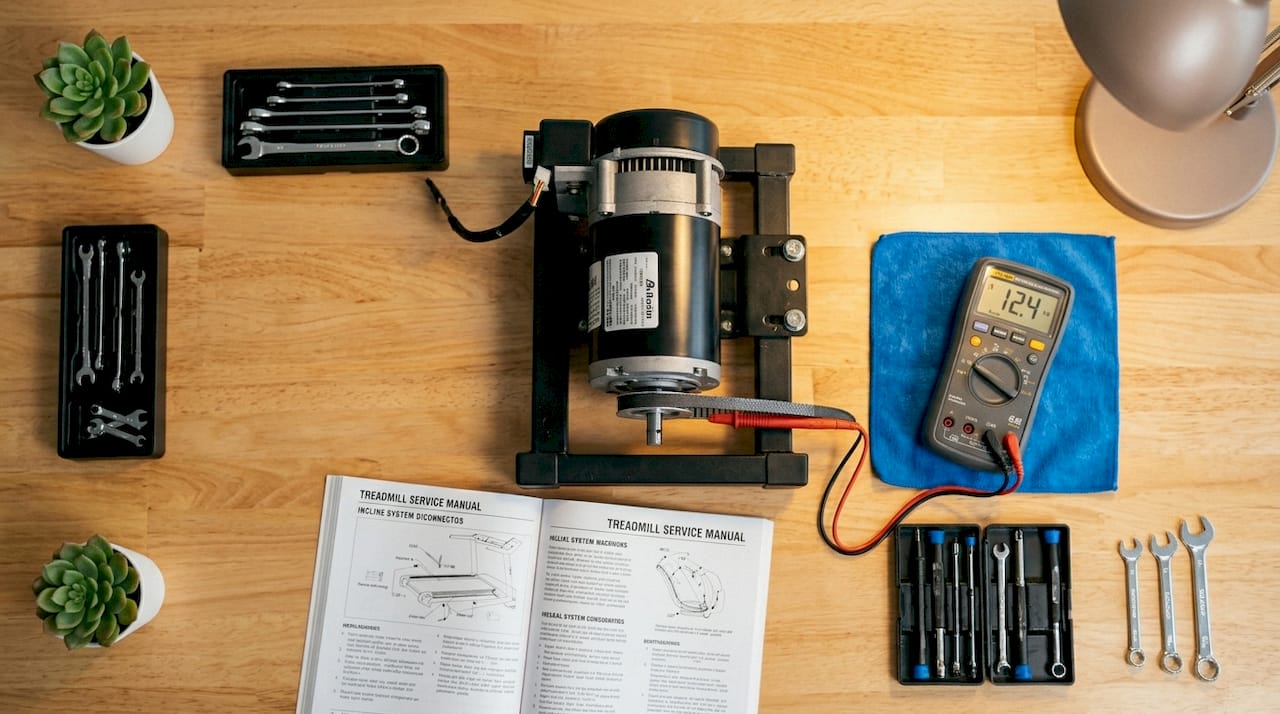
Correct part matching is the single most common point of failure in DIY incline motor repairs. A motor that is physically similar but electrically mismatched will either not function or damage your control board within weeks.
Before ordering anything, gather this information from your existing machine:
- Model number and serial number. These are printed on a sticker under the treadmill frame near the rear roller. Never skip this step.
- Part number from the motor label. The motor itself has a label with a manufacturer part number. Photograph it before disconnecting anything.
- Connector style and pin count. Some motors use a two-wire connector; others use a three-wire connector that includes the position sensor. Ordering the wrong connector type means the harness won't plug in.
- Voltage and wattage rating. A motor rated for 120V AC will not work correctly in a circuit designed for a different spec, even if it physically fits.
Cardio Equipment Parts and similar specialty suppliers allow you to search by model number and cross-reference part numbers, which reduces mismatch risk significantly. If you're unsure, call the supplier with your photos before placing the order. Some incline motors come with the position sensor integrated into the motor assembly. If yours does, confirm the replacement includes the sensor, or you'll need to transfer the old one, which adds complexity to the job.
Pro Tip: Take a short video of the wiring harness and connector orientation before you unplug anything. Photos are good; video is better for confirming reassembly order.
Step-by-step treadmill incline motor replacement process
This process applies to most home treadmills. Specific screw locations and access panels vary by brand, so keep your treadmill's repair manual nearby. Sears PartsDirect publishes free repair guides for many major brands that are worth downloading before you start.
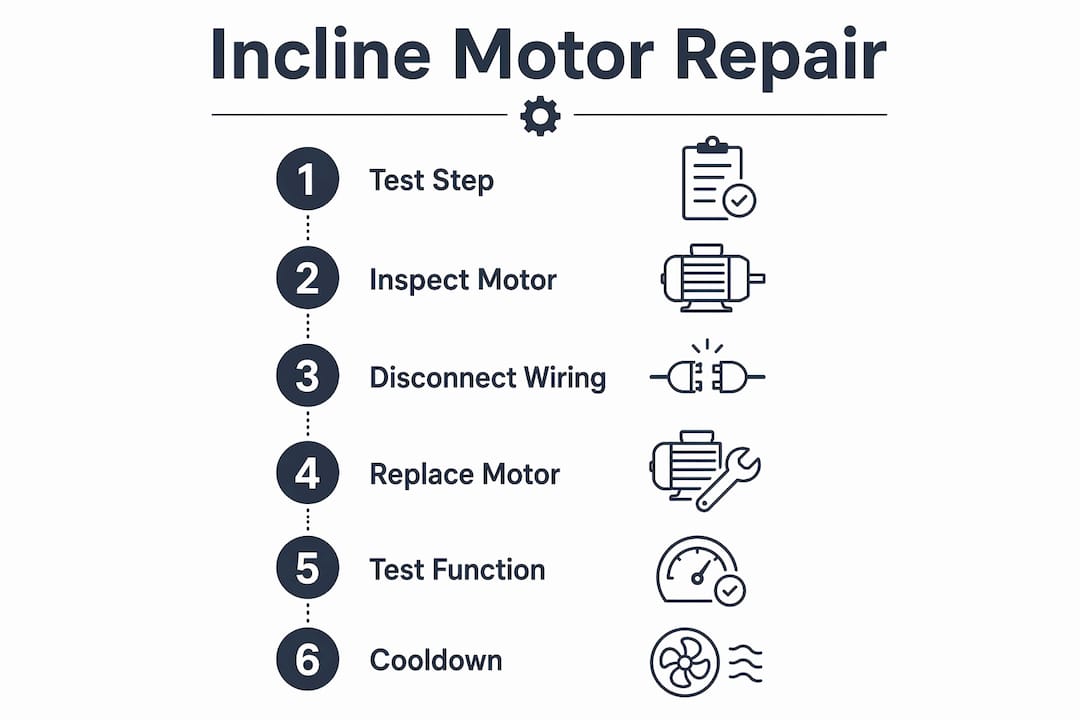
- Unplug the treadmill from the wall outlet. Wait two minutes before opening any panels to allow capacitors to discharge.
- Remove the motor hood or front cover. Most covers are held by two to four Phillips screws along the sides or underside. Set the screws in a labeled container so you don't mix them up.
- Locate the incline motor. It sits at the front of the treadmill frame, connected to a threaded rod or lift arm that raises the deck. It's smaller than the drive motor and typically mounted horizontally.
- Photograph the wiring connections. Document every connector, its orientation, and the wire routing path before disconnecting anything.
- Disconnect the wiring harness. Press the connector tab and pull straight out. Never yank by the wires.
- Unbolt the motor from its mounting bracket. Most motors use two to four bolts. Support the motor with one hand as you remove the last bolt so it doesn't drop.
- Remove the old motor and compare it to the replacement. Confirm the mounting hole pattern, shaft length, and connector type match before proceeding.
- Install the new motor. Thread the bolts in by hand first, then tighten with a wrench. Do not overtighten, as the mounting bracket on many treadmills is aluminum and strips easily.
- Reconnect the wiring harness. Push the connector in until you hear or feel it click.
- Replace the motor hood and plug the treadmill back in.
- Run incline test mode. Cycle the incline through its full range three times and confirm smooth, complete movement in both directions.
| Test step | What to check | Pass condition |
|---|---|---|
| Full incline up | Motor runs without hesitation | Reaches maximum incline without stopping |
| Full incline down | Deck returns to flat position | No grinding or stalling |
| ADC/VR feedback | Value changes continuously during movement | Smooth, consistent value progression |
| Error code check | Console display after three cycles | No error codes displayed |
Pro Tip: Thermal sensors in incline motors can trigger false error codes if you run repeated test cycles without a cooldown break. If an error appears after multiple tests, let the motor rest for 15 minutes before drawing any conclusions.
Preventive maintenance tips to keep your incline system running longer
Ignoring preventive maintenance accelerates incline motor failure faster than any single mechanical fault. The good news is that a consistent 20-minute maintenance routine every three months prevents the majority of premature failures.
Core maintenance tasks:
- Lubricate the belt and deck every three months. Friction between the belt and deck forces the drive motor to work harder, which draws more current through the control board and stresses every connected component including the incline motor. Use 100% silicone lubricant, not WD-40 or petroleum-based products.
- Clean the motor compartment every three to six months. Dust and lint accumulation traps heat inside the motor housing, accelerating wear on the motor windings and bearings. A can of compressed air and a soft brush handle this in under five minutes.
- Check belt tension and alignment monthly. A misaligned or overtightened belt increases motor load, causing premature fatigue on both the drive motor and the incline system. The belt should deflect about half an inch when pressed at the center edge.
- Inspect wiring harnesses every six months. Look for cracked insulation, loose connector pins, or wires rubbing against moving parts. A $2 wire repair prevents a $200 control board replacement.
- Follow manufacturer weight and speed limits. Running a treadmill rated for 300 lbs at 350 lbs consistently overloads every motor in the system.
| Maintenance task | Frequency | Primary benefit |
|---|---|---|
| Belt and deck lubrication | Every 3 months | Reduces drive motor load and heat |
| Motor compartment cleaning | Every 3 to 6 months | Prevents heat-related motor wear |
| Belt tension check | Monthly | Prevents incline motor overload |
| Wiring harness inspection | Every 6 months | Catches connector faults early |
For treadmill owners dealing with belt-related motor stress, addressing belt issues before they compound into incline motor problems saves significant repair cost down the road.
Key takeaways
Successful treadmill incline motor repair requires systematic diagnosis across four components, precise part matching, and consistent preventive maintenance to prevent repeat failures.
| Point | Details |
|---|---|
| Diagnose before replacing | Check the motor, wiring, position sensor, and control board in sequence before ordering parts. |
| Match parts precisely | Use model number, serial number, and motor label photos to confirm compatibility before purchasing. |
| Follow safe replacement steps | Unplug the machine, document wiring, and run test mode after installation to confirm success. |
| Use test mode for accuracy | ADC/VR feedback values during incline test mode reveal whether faults are in wiring or the motor itself. |
| Maintain consistently | Clean the motor compartment and lubricate the belt every three months to prevent premature motor failure. |
What I've learned after years of incline motor repairs
The most common mistake I see from home gym owners is replacing the incline motor before verifying the position sensor signal. The motor is the most visible part, so it gets blamed first. But in my experience, broken wires at the connector and a failed VR sensor account for a larger share of incline problems than the motor itself. Replacing a $150 motor when a $15 connector repair would have solved the problem is a frustrating and avoidable outcome.
The second mistake is skipping the cooldown period during testing. Thermal protection sensors in many incline motors will trigger an error code after three or four rapid test cycles. I've watched people conclude their new motor is defective when it just needed 15 minutes to cool down. Patience during testing is a diagnostic skill, not a personality trait.
Part matching deserves more attention than most guides give it. I've seen motors that look identical fail to work because the connector had one additional pin for an integrated position sensor. Accurate replacement selection requires cross-referencing model numbers, serial numbers, and motor part numbers together. A photo of the motor label and connector style before disassembly is the single best habit you can build. If you're dealing with recurring failures that suggest deeper hidden mechanical stress, that's worth investigating before installing a new motor.
The methodical approach always wins. Work through the four diagnostic buckets in order, document everything, and don't skip the test mode verification after installation.
— Steve
When DIY reaches its limit, Texastreadmillrepair is ready

Some incline motor problems go beyond what a repair manual and a multimeter can solve, especially when the control board is involved or the wiring damage is extensive. Texastreadmillrepair serves home gym owners and fitness facilities across South Texas with certified technicians who come directly to your location, no hauling required. Their treadmill repair services cover incline motor replacement, position sensor calibration, wiring repairs, and full system diagnostics, all under a flat-rate pricing model with no surprise fees. Every repair includes a 90-day warranty on parts and labor. If you're in the McAllen or Mission area and need a same-week appointment, Texastreadmillrepair delivers fast, reliable service that gets your incline system back to full function.
FAQ
What are the most common causes of treadmill incline failure?
Incline failures most often trace back to four components: the lift motor, wiring connections, the position feedback sensor, and the motor control board. Diagnosing in that order prevents unnecessary part replacements.
Why does my treadmill incline stick or stop mid-range?
A failing position feedback sensor is the most likely cause when the incline moves partway and stops. The sensor tells the control board where the deck is, and a faulty signal causes the board to halt motor movement as a safety measure.
How do I know if my incline motor needs replacement or just a wiring fix?
Run your treadmill's incline test mode and watch the ADC or VR feedback value on the console. If the value stays flat while the motor runs, the fault is in the wiring or sensor, not the motor itself.
How often should I clean the treadmill motor compartment?
Clean the motor compartment every three to six months depending on your environment. Dust and lint buildup traps heat and accelerates motor wear, making this one of the highest-return maintenance tasks you can perform.
Can I use any incline motor as a replacement?
No. The replacement motor must match your treadmill's model number, serial number, voltage rating, and connector type. Even motors that look identical can have different pin configurations or integrated sensors that cause installation failures.